0. 背景知识
请参考 : https://blog.csdn.net/uxiAD7442KMy1X86DtM3/article/details/81059215
1. ceph在pve上的安装
shell到pve节点上,执行
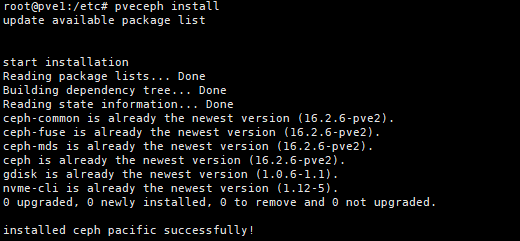
pveceph install
成功后 :
2. 初始化网络
pveceph init --network 192.168.0.0/24
3. 创建监听
pveceph createmon
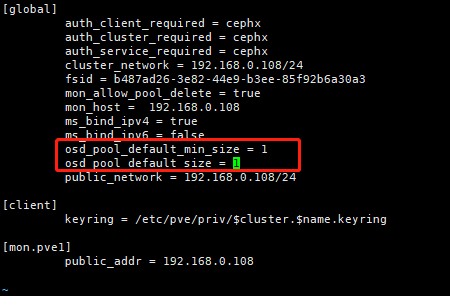
4. 更新配置
vi /etc/pve/ceph.conf
设置红框的数值,单节点的话设置为1
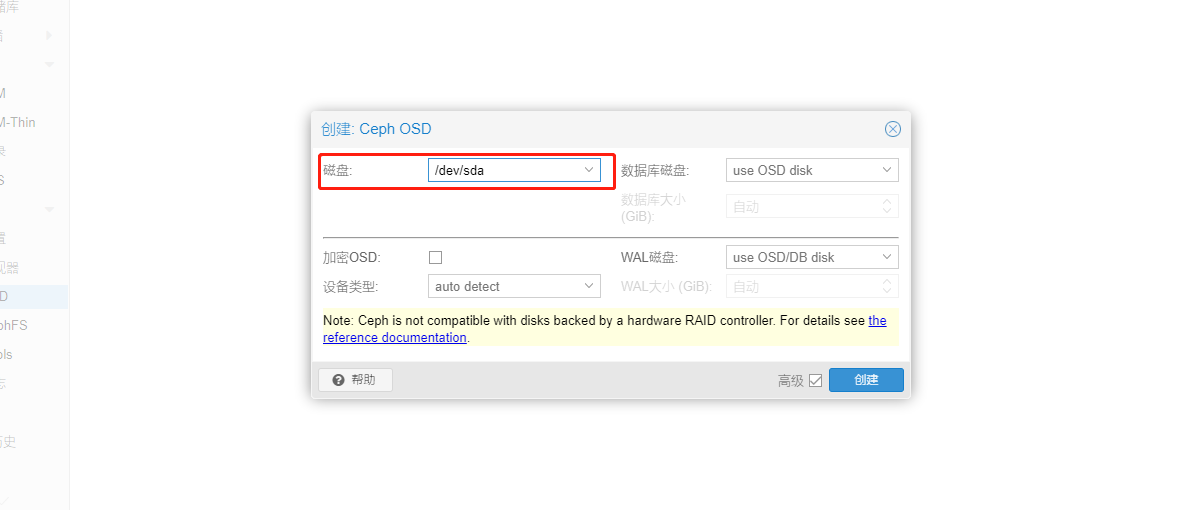
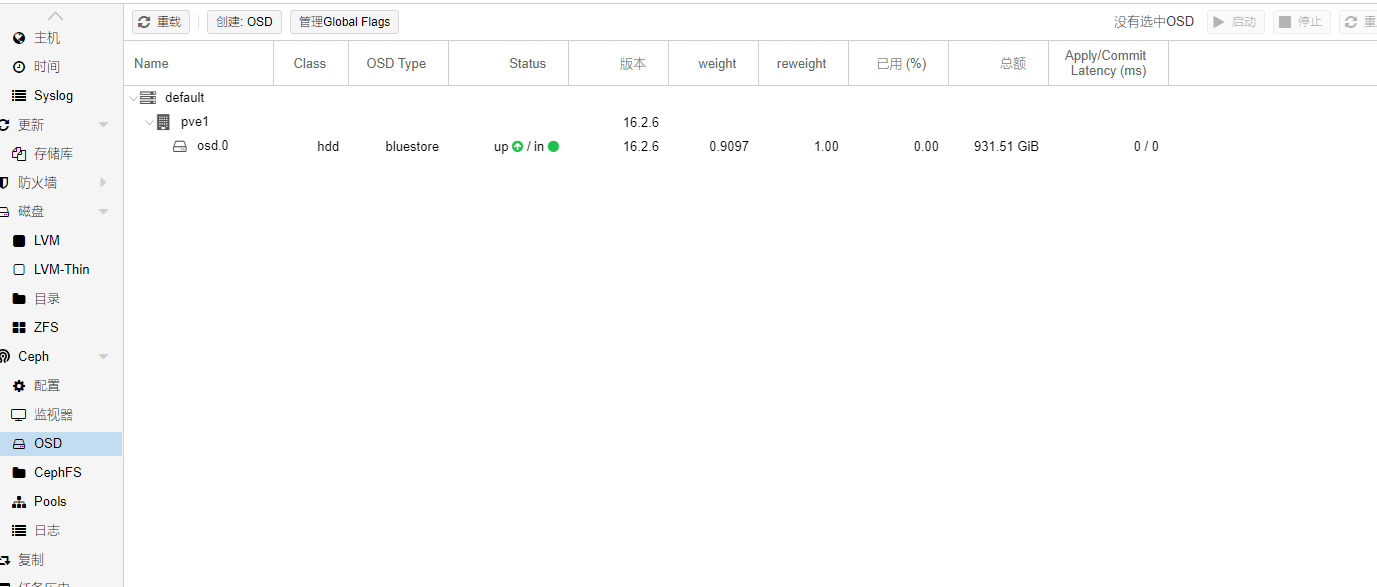
5. 添加osd
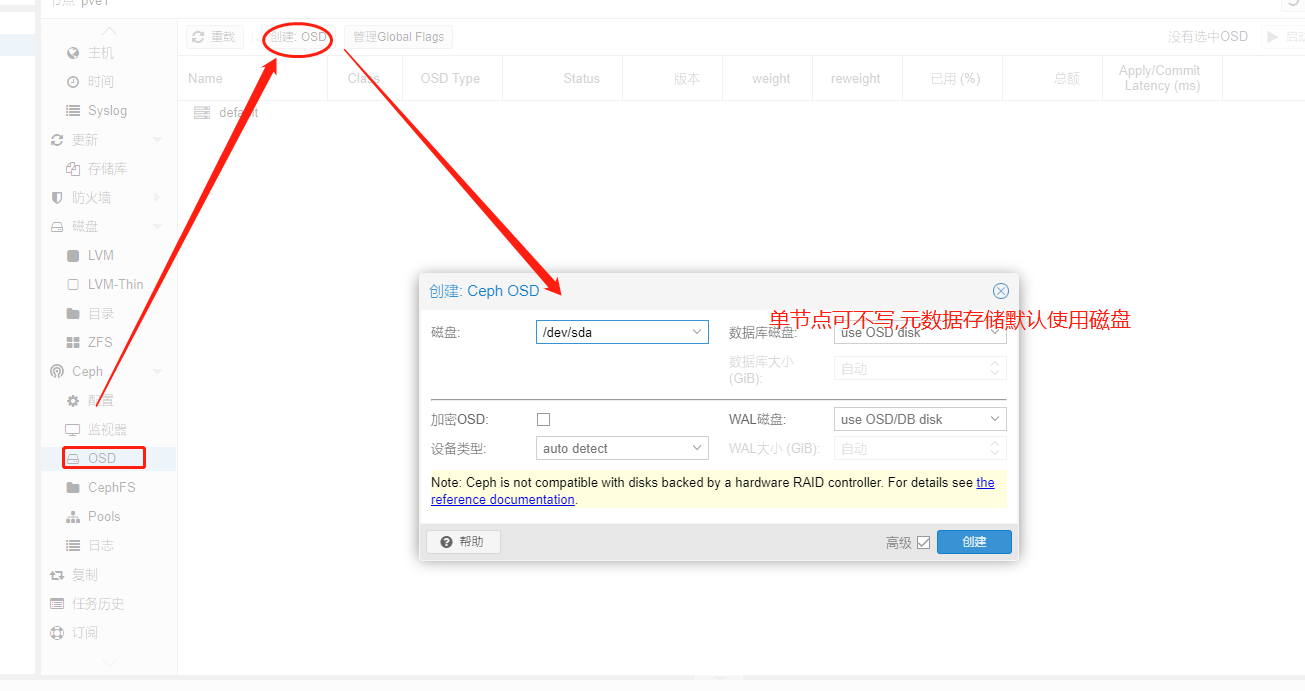
如果提示 磁盘没有找到 (下图红框处),说明你没有空闲磁盘(未分区的磁盘),需要你有一块未分区的磁盘才能创建osd.
完成后
4.1 检查状态
ceph -s
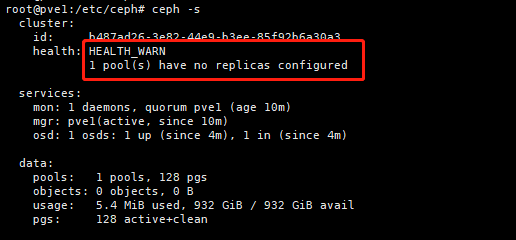
health: HEALTH_WARN: 1 pool(s) have no replicas configured
副本没有配置,暂时选择不配置,执行
ceph config set global mon_warn_on_pool_no_redundancy false
systemctl restart ceph-mgr.target
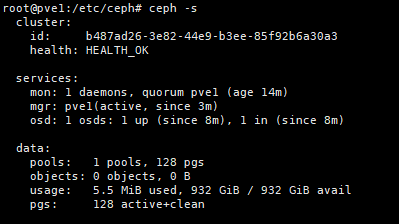
状态正常
4.2 创建pool
查看状态
ceph -s
提示
too many PGs per OSD (320 > max 250)
修改配置
vi /etc/ceph.conf
在[global]添加
mon_max_pg_per_osd = 1024
重启 mgr ,mon 即可
systemctl restart ceph-mon.target
systemctl restart ceph-mgr.target
5. 卸载
pveceph uninstall